Installing PL-259 Plugs Properly
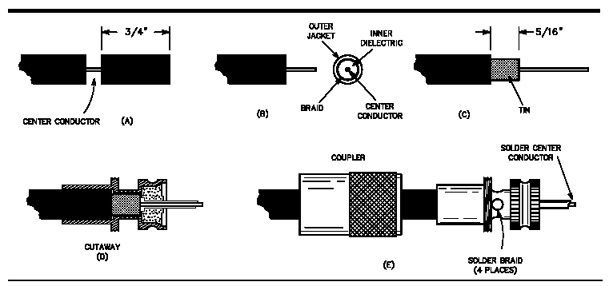
When installing PL-259 plugs it is good to use a Volt-Ohm Meter in the ohms range to check out that there are no shorts between the center conductor and shield before and after soldering the plug (testing for continuity with a multimeter).
Using a good soldering iron that is powerful enough is also important for getting good joints done. I am myself using a 100 W soldering iron for soldering the braid and another soldering iron with less wattage for soldering the center conductor.
It’s also a good idea to use self-amalgamating tape in the bottom part of the plug when the cable is installed outside to prevent moisture from getting in. If water gets inside the cable, it will proceed along the cable because of capillary action, and if the cable gets wet it will get lossy and is of no use any longer.
Note that not all self-amalgamating tapes are UV proof, so you might need to add an extra layer of insulating tape for UV protection.
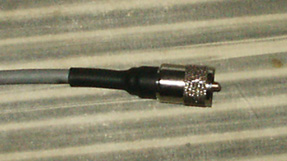
Alternatively, you could use a piece of adhesive lined heat-shrinkable tubing on the bottom part
of the plug as shown in the picture below.
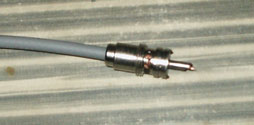
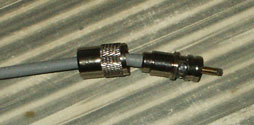
Installation Step by Step
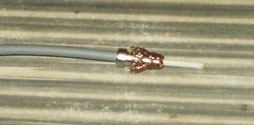
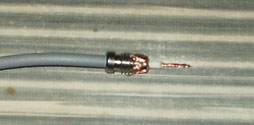
Links
Here is a link to a site where you can find some good info on soldering PL-259 plugs:
http://www.seed-solutions.com/gregordy/Amateur%20Radio/Experimentation/SolderCoax.htm
More info about the PL-259 (UHF) connector:
http://www.electronics-radio.com/articles/electronic_components/rf-connectors/uhf-connector-so239-pl259.php
